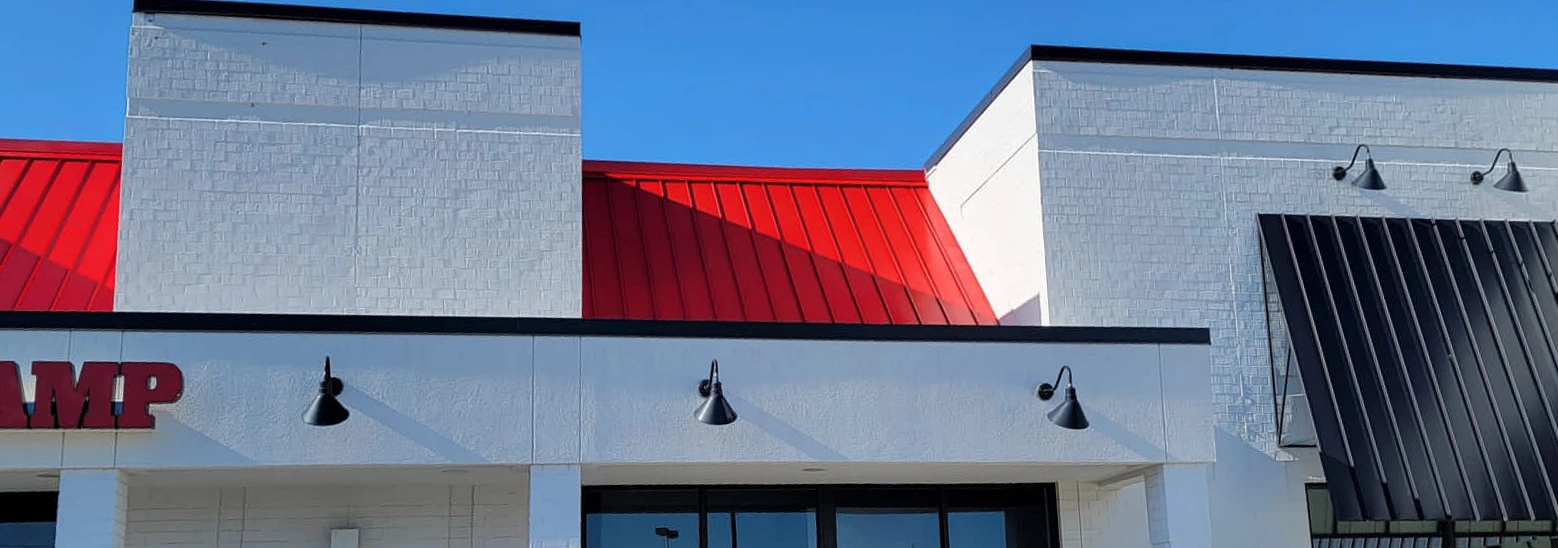
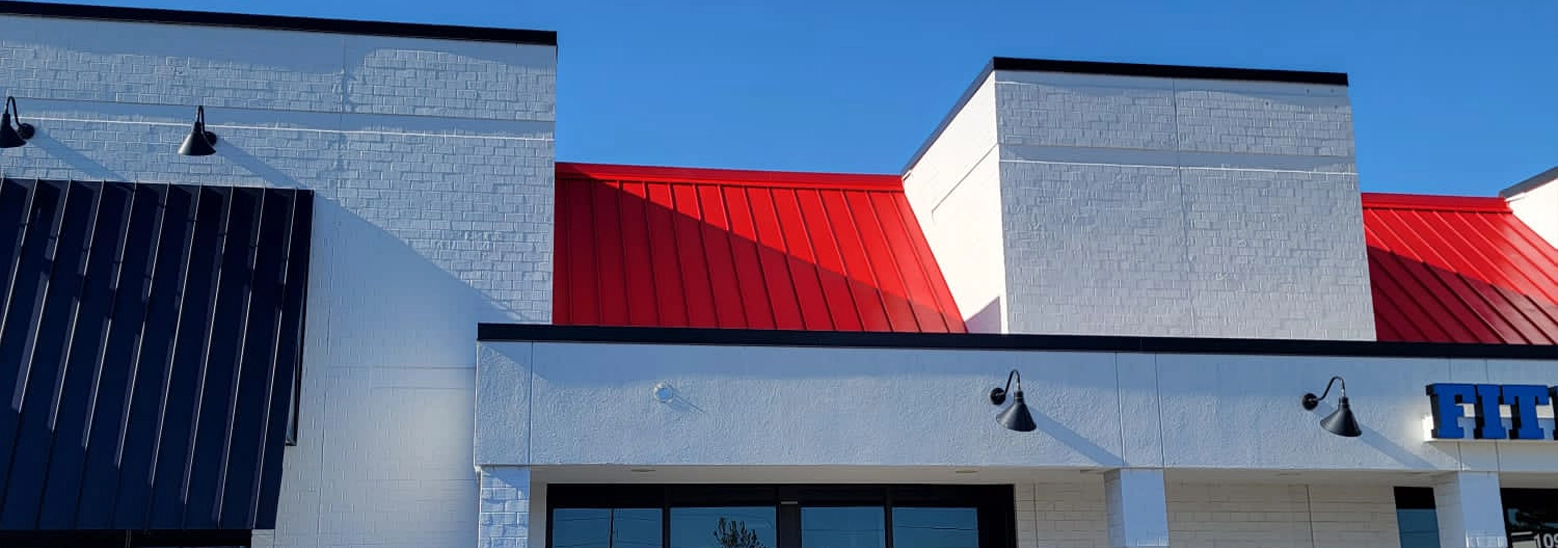
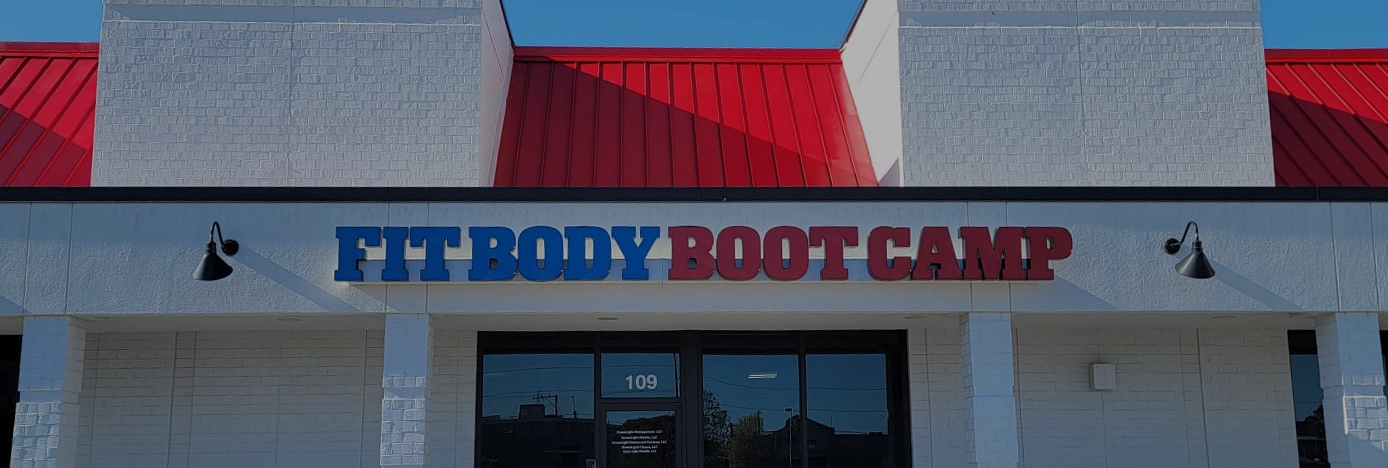
About Metal Siding & Metal Roof
Uplifting the exterior of a building by painting metal siding can significantly increase its appearance and prolong its lifespan. The process, however, involves more than just applying a fresh coat of paint. It requires careful preparation, the right materials and tools, and a solid technique to ensure that the finished job stands up to the elements and looks great for years to come. Painting metal surfaces, be it aluminum siding, metal doors, or even a metal roof, presents unique challenges, but with the correct approach, the results can be remarkably rewarding.

We at French Painting Company Inc will guide our customers through the necessary steps to successfully tackle the task of painting metal siding. Beginning with an overview of the essential materials and tools needed—including the right type of paint, a reliable paint sprayer, and safety equipment—it will then explore into a detailed, step-by-step cleaning process crucial for ensuring the paint adheres properly. Following that, readers will find valuable painting techniques and tips to achieve a professional finish. Whether facing the expansive surface of a metal roof or the intricate details of metal doors, this complete guide aims to equip homeowners and DIY enthusiasts with the knowledge and confidence to refresh their property’s exterior successfully.

Materials and Tools Needed
- List of Materials
For the painting project, one will need a variety of materials to ensure a successful outcome. Begin by getting a rust-inhibitive primer such as Diamond Vogel’s CoteAll Multi-Purpose Alkyd Primer or Iron Prime 600 Fast Dry Universal Primer, which is crucial for areas with severe surface oxidation.
Additionally, an acrylic latex topcoat like Diamond Vogel’s Palisade Ultra Premium Exterior Acrylic Latex is recommended for long-term durability. For cleaning, trisodium phosphate can be used to effectively remove grime and rust, but ensure to have protective gear due to its caustic nature.
Our Sherwin-williams paint representative have suggested:
1. Bond plex
2. Sher cryl
3. loxon conditioner for priming
- Essential Tools
The proper tools are essential for a smooth and efficient painting process. A high-pressure washer (2500 psi minimum) is essential for removing loose dirt, chalk, and contaminants from the metal siding. For the application of paint, a reliable paint sprayer or a paint roller with an extension can be used, depending on the type of primer chosen. Additionally, to handle rust and loose coatings, one should have tools for scraping, sanding, or other abrading methods ready.
Step-by-Step Cleaning Process
- Removing Dirt and Grime
Begin the cleaning process by diluting a mild detergent or trisodium phosphate TSP in water to create a cleaning solution. This solution is effective for general cleaning and removing light dirt build-up on metal siding. For more stubborn grime, a stronger solution may be necessary, and for pre-painted metal, products like Glass Wax or a similar cleaner are recommended. Always start spray chemical on the siding from the bottom of the panel and work upwards to prevent streaking, and rinse thoroughly with clean water to avoid leaving any residue.
After spray cleaning solution pressure wash the surface with 3000 psi pressure washer to remove dirt and film from old siding with fades.
- Dealing with Rust
For areas with rust, start by using a wire brush to scrub off flaky and powdery surface rust. If the metal is heavily rusted, consider using a drill with a wire wheel or a rust converter to treat and prepare the surface. For extensive rust, products like Evapo-Rust® or OSPHO can be used to remove rust without scrubbing; just immerse the rusted items in the solution and then rinse. Ensure all rusted areas are treated with a rust-inhibitive primer before painting.
- Final Cleaning and Drying
After addressing dirt and rust, ensure that all surfaces are rinsed well with water to remove any cleaning agents or loose debris. Use a soft cloth or sponge for a final wipe-down to ensure no cleaner or water spots are left behind, which could affect paint adhesion. Allow the metal siding to air dry completely, which might take several hours depending on the weather conditions. Before proceeding with painting, a final inspection should be done to ensure the surface is clean, dry, and free of imperfections.

Painting Techniques and Tips
- Spraying vs. Rolling
When painting exterior metal siding, choosing between using a paint sprayer or a roller is crucial. Sprayers offer a smooth, even finish and are excellent for large, flat surfaces due to their ability to provide uniform coverage without brush strokes. However, rollers might be preferable for those who need more control over paint application, especially on smaller or detailed areas. Rollers are also noted for their ability to apply paint more thickly, which can be beneficial for achieving even coats on porous surfaces.
- Best Practices
For optimal results, always start with thorough surface preparation. This includes cleaning the siding to remove all dirt, mildew, and loose paint, and then sanding any rough sections. Skipping this step can lead to peeling or cracking of the paint. When applying paint, whether spraying or rolling, ensure each coat is thin and even to prevent drips and uneven textures. If using a sprayer, remember that while the actual spraying may be faster, the preparation may take longer, balancing out the time needed.
- Common Mistakes to Avoid
One of the critical errors in painting metal siding is using the wrong type of paint, which can result in poor adhesion and durability. Always select a high-quality exterior paint that is suitable for metal surfaces. Additionally, do not rush the drying time between coats. Each layer needs sufficient time to dry completely to ensure proper adhesion and a flawless finish. Lastly, using low-quality tools can lead to a below an average level finish, so investing in high-quality brushes, rollers, or sprayers is recommended.
Conclusion
Through this comprehensive guide, we have navigated the multifaceted process of painting exterior metal siding, detailing the essential preparation steps, tools and materials required, and the meticulous painting techniques that ensure a durable and beautifully pleasing result. Our journey from understanding the importance of selecting the right type of paint and primer to mastering the application process—whether by spraying or rolling—underscores the significance of meticulous preparation and the strategic application of paint to achieve a professional-grade finish.
The implications of adopting these practices extend beyond simple surface enhancement, promising not only to revitalize the appearance of properties but also to significantly extend the lifespan of metal sidings against the elements. As we conclude, let this guide serve not only as a roadmap to successful metal siding and metal roof painting but also as an encouragement to approach such projects with confidence, armed with the knowledge that careful preparation and attention to detail can yield outstanding results. Embracing the steps outlined herein will undoubtedly empower homeowners and DIY enthusiasts to transform and protect their buildings with a superior finish that stands the test of time.
FAQs
To ensure a successful paint job on metal siding, start by thoroughly cleaning the metal to remove any dirt, grease, or stains. Protect surrounding areas with covers to prevent paint splashes. Apply an anti-rust primer to enhance paint adhesion and prevent rust. Finish with a coat of rust-preventative enamel for durability.
For painting metal siding, the best option is usually a high-quality 100 percent acrylic exterior paint. Opt for a satin finish as it helps in shedding water more effectively than a flat finish and tends to have a longer lifespan.
Pressure washing and then continue the cleaning process by removing all loose dirt, chalk, and other contaminants from the siding. You can wash the surface by hand using warm, soapy water or use a high-pressure washer with a minimum of 2500 psi for more effective cleaning, especially to remove any chalk residue.
Start by cleaning the metal thoroughly to ensure it is free from grease, oil, dirt, or rust, as these can interfere with paint adhesion. Instead of water, use a solvent like acetone for cleaning because it evaporates quickly and leaves a clean surface, ready for painting.


